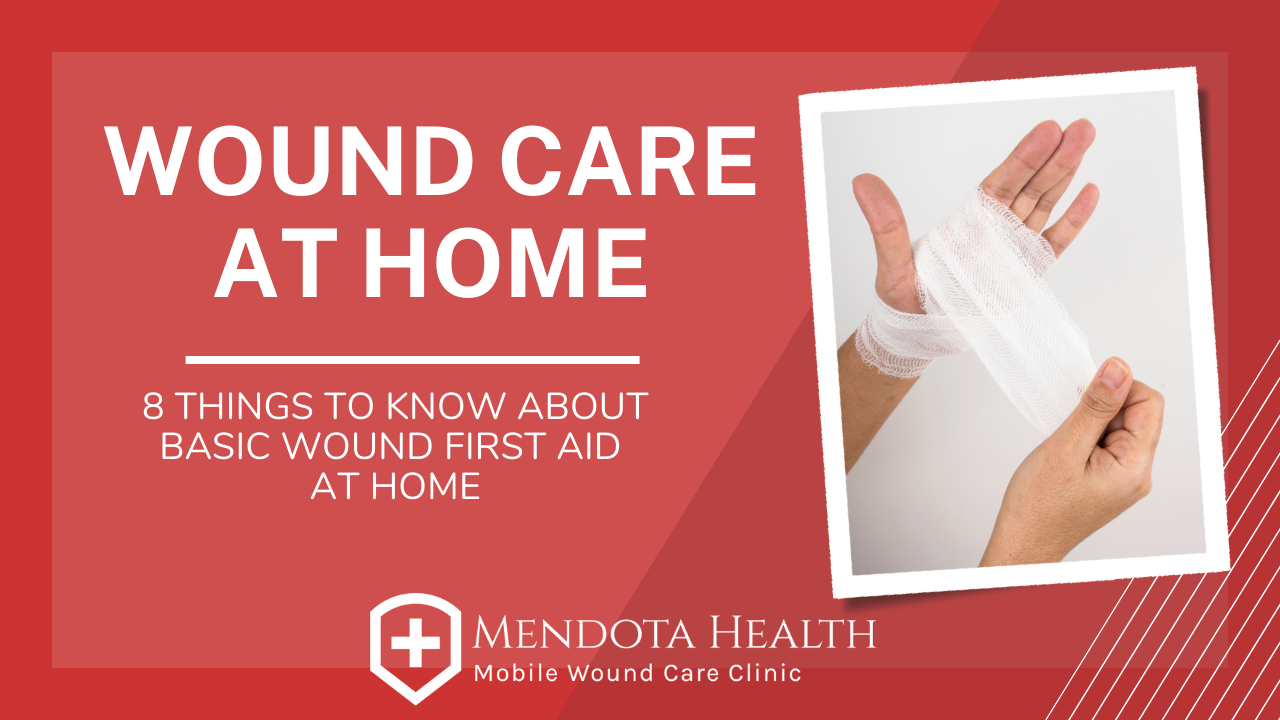
19 Oct WOUND CARE AT HOME
Here are 8 things to know about basic wound first aid
Wounds can happen anytime and anywhere. That’s why it is important to be prepared and equipped with the knowledge of how to provide wound care at home or when to seek professional help if necessary. Whether your child fell off their bike or you sliced your finger when chopping vegetables, would you know what to do to ensure a fast and safe healing process? Luckily, we are here to help! We have curated a step-by-step guide on how to perform basic wound first aid. It is important to keep in mind that all wounds are different, and some may require additional attention depending on the cause of the wound and its severity. Keep reading to become a wound care expert and provide your own wound care first aid at home!
Be Prepared- The best way to provide wound care at home and ensure everything goes smoothly is to be prepared! One way you can do this is to keep a basic first aid kit handy at all times such as at home, in the car, or in a bag/purse. You can buy one or make your own including scissors, gauze, bandages, medical tape, and a pain reliever like ibuprofen or Tylenol. It may not seem like much, but these items can help you treat wounds in an emergency. We will show you how in the following steps!
Control Bleeding- Minor wounds will mostly likely stop bleeding on their own, otherwise using a clean cloth or some gauze from your first aid kit to apply pressure will assist in stopping the bleeding. It is important to note that some medicines such as aspirin can cause you to bleed more than usual and may require applying pressure for longer to control the bleeding. Do not apply pressure if the wound is a burn.
Wash Your Hands- When providing wound care at home or in a non-sterile environment, it is important to try to stay as clean as possible when treating your wound. Washing your hands before touching the wound will help to prevent infection and ensure a speedy recovery process.
Clean the Wound- Gently rinse the wound with lukewarm water and pat dry. If the wound is a burn, place it under cold water for 10 minutes. Do not use soap directly on the wound, only in the surrounding area. Do not rinse wounds with hydrogen peroxide or iodine in an attempt to clean the wound, as it can end up irritating the wound instead. Make sure to remove any debris. For burns, do not break any blisters, as blisters help prevent infection. If a blister does break, continue the following steps.
Keep the Wound Moist- This can be done by applying an antibiotic ointment or petroleum jelly. This can also prevent scars in the future. Keeping wounds moist speeds up healing. For burns, you can apply a lotion such as aloe or cocoa butter. When a wound is dry, it quickly forms a scab, which slows the healing process.
Cover the Wound- Cover the wound to keep it clean. You can do this by applying a bandage or gauze secured with medical tape. Make sure to change the dressing at least once a day or until it becomes wet or dirty.
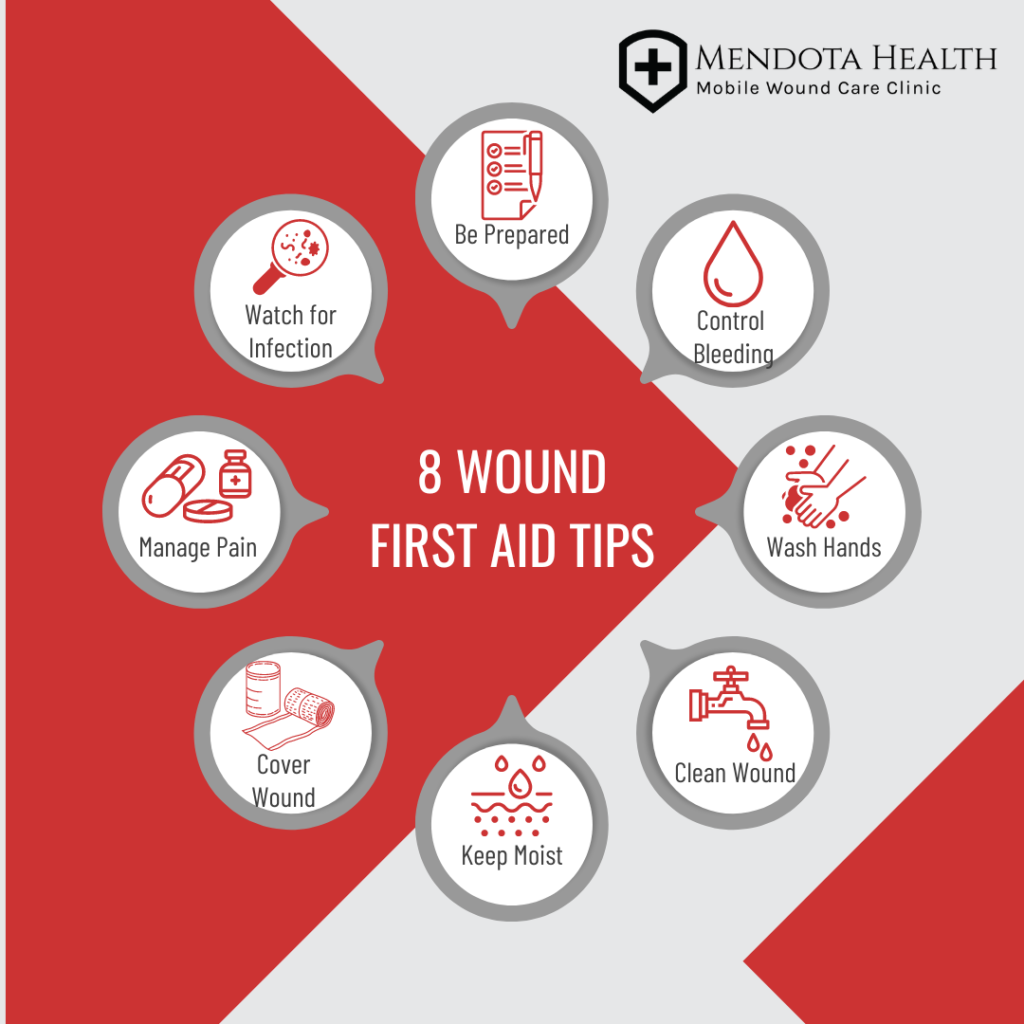
Manage Pain- Wounds can be painful! After treating the wound, you can take a pain-relieving medication such as Ibuprofen or Tylenol to help with pain management of your wound.
Watch for Signs of Infection- Infection can slow down the healing process, but luckily, it’s preventable!
Signs of infection include:
- Fever
- Redness
- Chills
- Swelling
- Increased Pain
- Change In Drainage
If you don’t see signs of healing within 2 weeks consult a healthcare provider. If you have had a wound for over 4 weeks and it shows no sign of healing call us.